
Afternoon everyone, how's your Sunday going. I've just finished unpacking the car after a great day at the Newbury Papercraft Show yesterday. We got off to a wobbly start as the sat nav took us to the wrong entrance - well maybe it way me driving the wrong way!!! but once we'd found our way to the Berkshire Stand we were on a roll. Sarah and Cathy did an absolutely fabulous job of manning the stall and moving it in and out of the venue, thank you sooooooo much both for all your help and support xxx.


We'll be at the next Newbury Papercraft Show on 8th July 2017 - hope to see you there.
The 'Make and Take' was a simple pocket picture book; If you fancy making one yourself here's what you need;

Supplies

two pieces of 2mm chipboard 7" x 5"
two pieces of designer paper for covers 6" wide x 8"
one piece of the same designer paper 2" x 2 1/2" for ribbon holder on back cover
three pieces of black card 9 1/2" x 6 1/2" deep - scored at 1/2" in from one 6" edge
one piece of black card 9" x 6 1/2" deep
two lengths narrow ribbon
eight 1/2" punched circles for ribbon ends
Picture for the front of your pocket book
To Assemble

1. Stick the chipboard pieces centrally to the wrong side of your large paper pieces.
2. Put double sided tape around all paper edges and remove tape backing
3. Miter paper corners cutting paper diagonally 1/8" away from corners of the chipboard

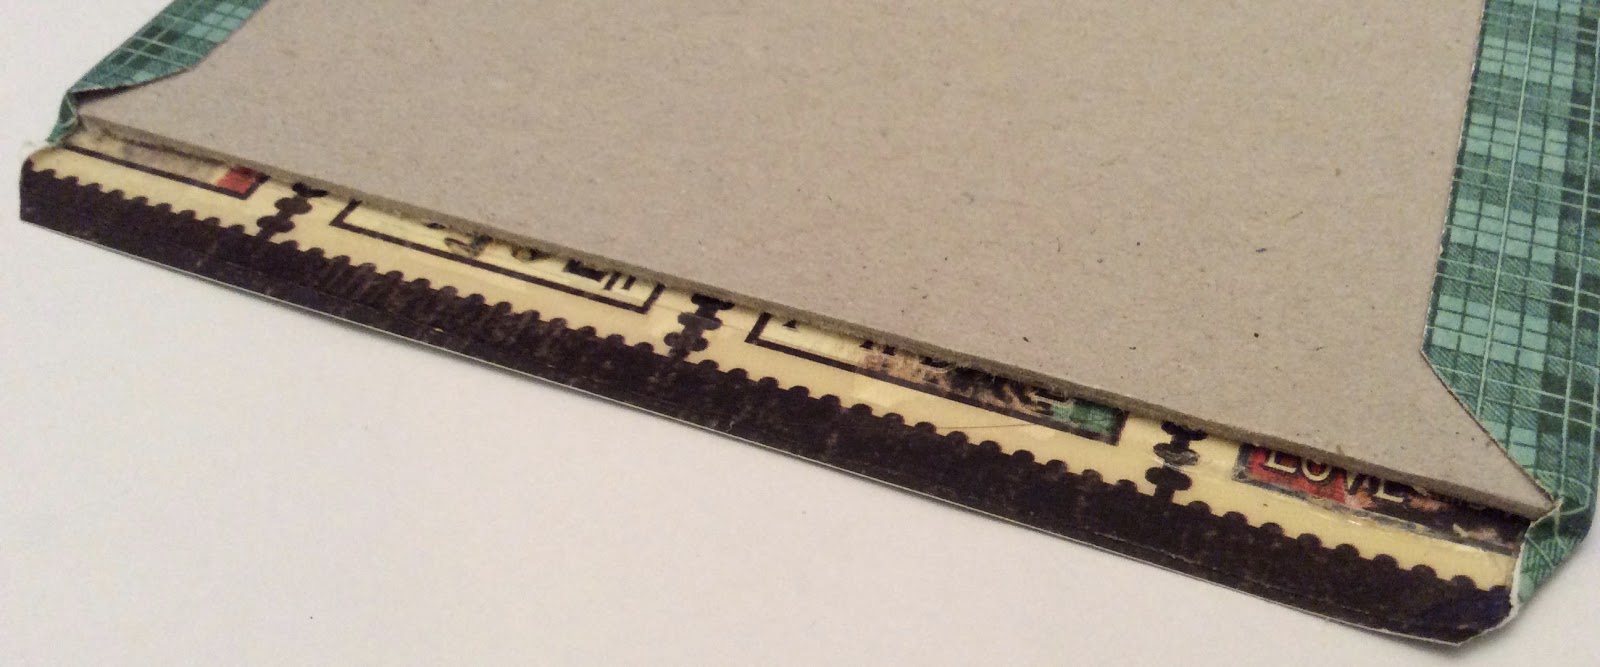
4. Fold and stick long paper edges down firmly on chipboard
5. Push paper triangles in towards the middle of the short edge to cover chipboard corners and then fold and stick short paper edges down onto chipboard.

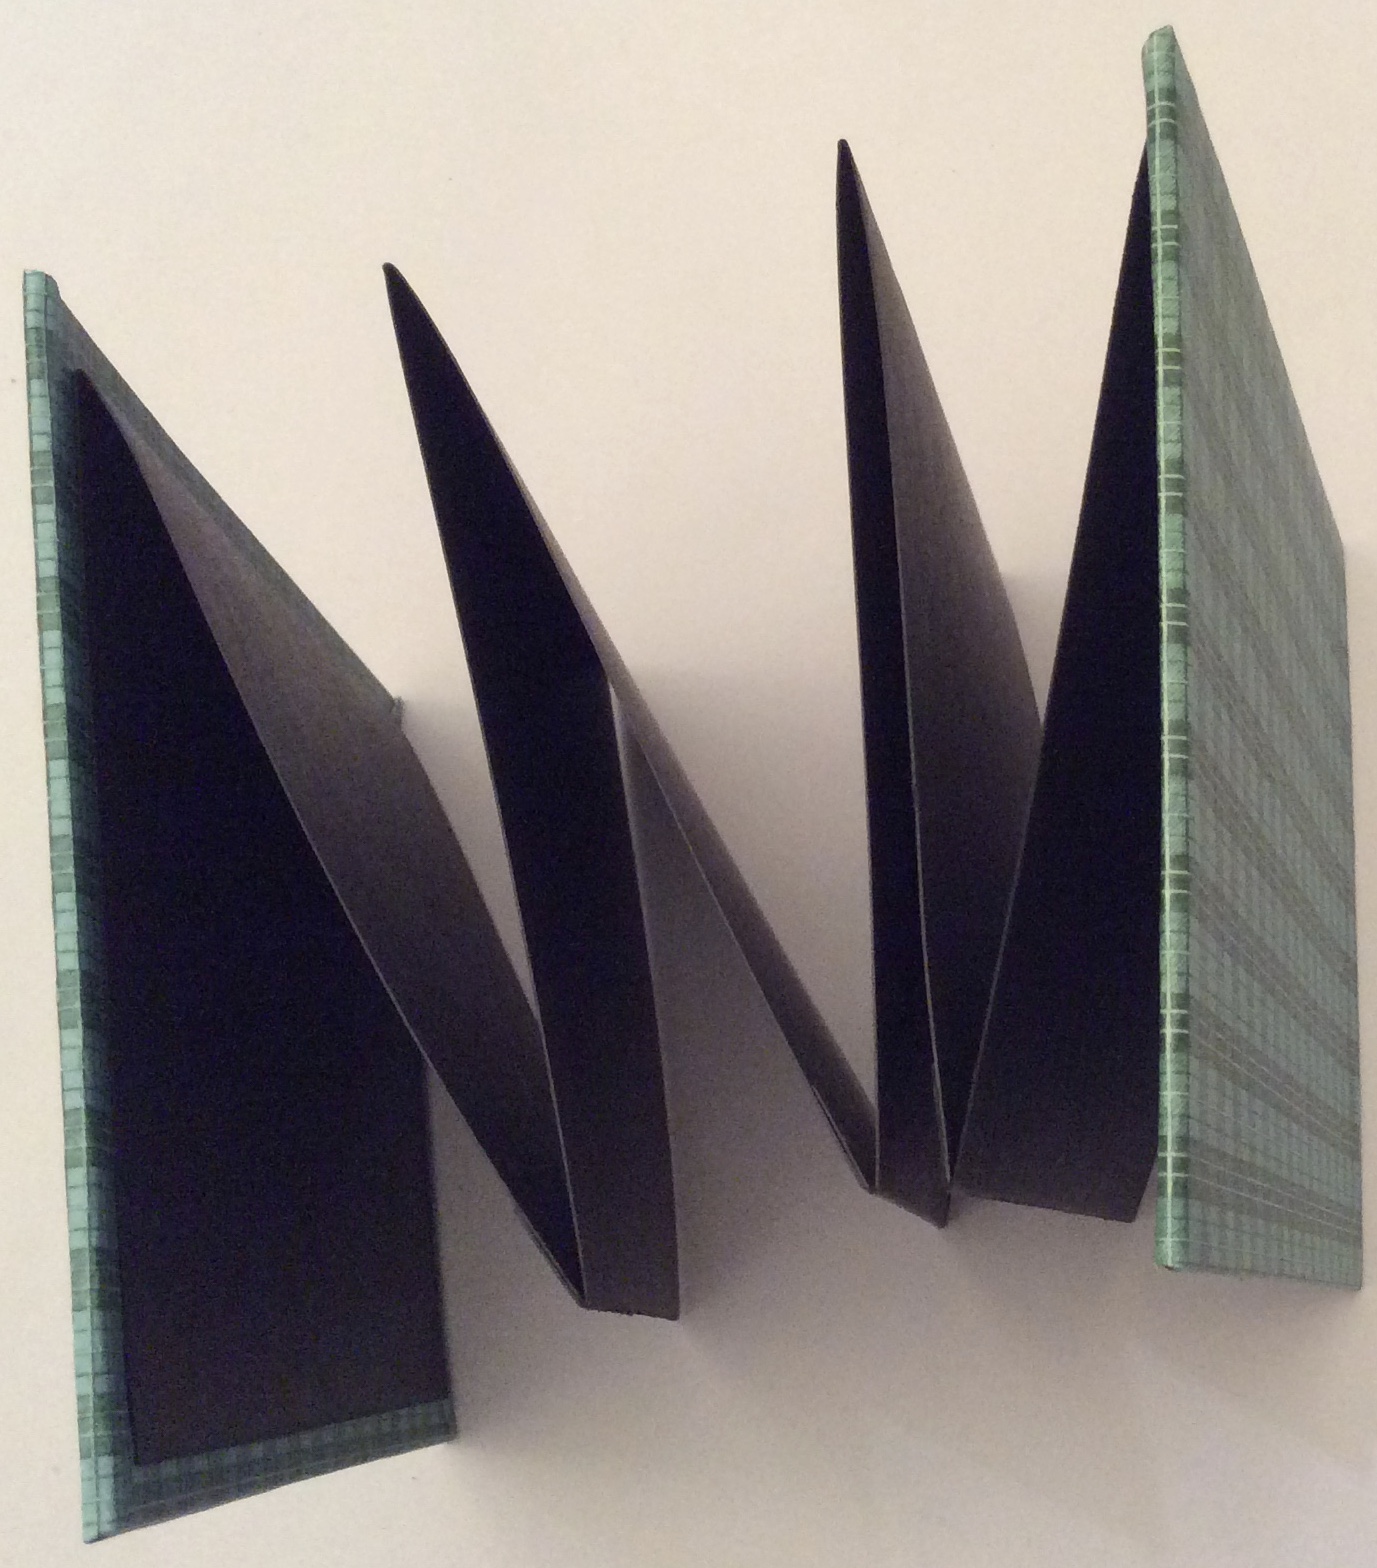
6. Crease the fold lines on the three black card pieces with tabs.
7. Put double sided tape on under edge of each tab
8. Layer and stick pages together sliding one short paper edge without tab under one with a tab. Press down firmly to join. Repeat with other two pieces.

9. Add the last black card piece under the last tab.


10. Fold each of the pages in half, taking one short edge to meet the other. Crease fold.(you need to flip the joined pages over as you do this). You'll end up with pages that measure 4 1/2" wide x 6 1/2" deep.

11. Once folded put strips of tape vertically down side edges and a couple of strips down the centre of the front and back page.
12. Place one covered chipboard piece (chipboard centre facing you) on your work surface and stick the folded pages in place centrally to cover bare chipboard and paper edges.
13. Repeat for second cover.

14. Check that your book opens the right way and is and stick picture in place on cover. (mat on card - optional)


15. Fold the remaining small paper piece into three sections and put a strip of double sided tape across inside middle section
16. Find the centre of your ribbons and stick in place on the double sided tape.

17. Decide where you want your ribbons to tie on the front of our book and stick the ribbon holder in place on the back of your book using double sided tape
18. Stick the paper circles in pairs to the ends of the ribbons to hide ribbon ends.
19. When you can leave your book to dry put glossy accents on both sides of the paper circles (add a little glitter for a bit of sparkle while wet)
Enjoy your book :-) C
January Giveaway
If you'd like to be in with a chance to win one of our uber popular planner kits but haven't left a comment yet here's the link. Leave your comment before midnight on 31st January (GMT). Our winner will be announced here on the blog on 1st February.
Well that's all for today folks, enjoy the rest of your wekeend and look forward to catching up again shortly :-) C x
I so need to get crafting again, since my mum passed before christmas I'm just vegging, will have ago at your make this will kick start me again hopefully
ReplyDeleteHugs xx
Love these, thanks for showing us Clare!! Glad your weekend was so successful!!
ReplyDeleteLove,
Judy
Hello Clare, I attended your make and take class yesterday at the Newbury Papercraft Show and really enjoyed making my picture pocket book. I was also very lucky enough to win one of the raffle prizes from the show and was extremely pleased to find one of your kits in my goodie bag. A great show, will look forward to the next one in July. Thanks again, Julia
ReplyDeleteHi Julia, great to hear you enjoyed the show and our Make and Take together. We did too. Congrats on winning the raffle and one of our kits. Have fun using all your goodies and look forward to seeing you in July :-) C
DeleteIt was lovely to meet you at the show. Enjoy using your little book and look forward to seeing you at the next show :-) Cx
ReplyDeleteLooks like you all had a good time Clare , lovely little book and a big thanks for the Tutorial.
ReplyDeleteElaine H X
Morning Clare, Lots of lucky peeps enjoying the 'Make and Takes', brilliant piccies.
ReplyDeleteThank you for the tutorial for the pocket picture book, yours looks stunning as always.
Enjoy your day.
Lots of love from Patricia xx
Thanks for the tutorial. Love everything Graphic 45.
ReplyDeleteHi Christine, thanks for calling by. Enjoy making the little book if you have a go yourself. Enjoy your week too :-) C
DeleteThanks for this tutorial! Lovely project to gift to friends with pets!
ReplyDeleteHi Martie, great to hear you like the make and take. it went down well at the show and like you say makes a great project to give as a gift. Enjoy your week and thanks for calling by :-) C
Delete